Projects and tasks
Overview
Projects hold related work together. Tasks are the individual pieces — some you create, most Maggie creates for you. This tutorial builds a project from scratch and follows a task all the way through.
Step 1 — Create a project
Open Projects and create one. Give it a name that describes an outcome ("Q3 website refresh") rather than an area ("Marketing").
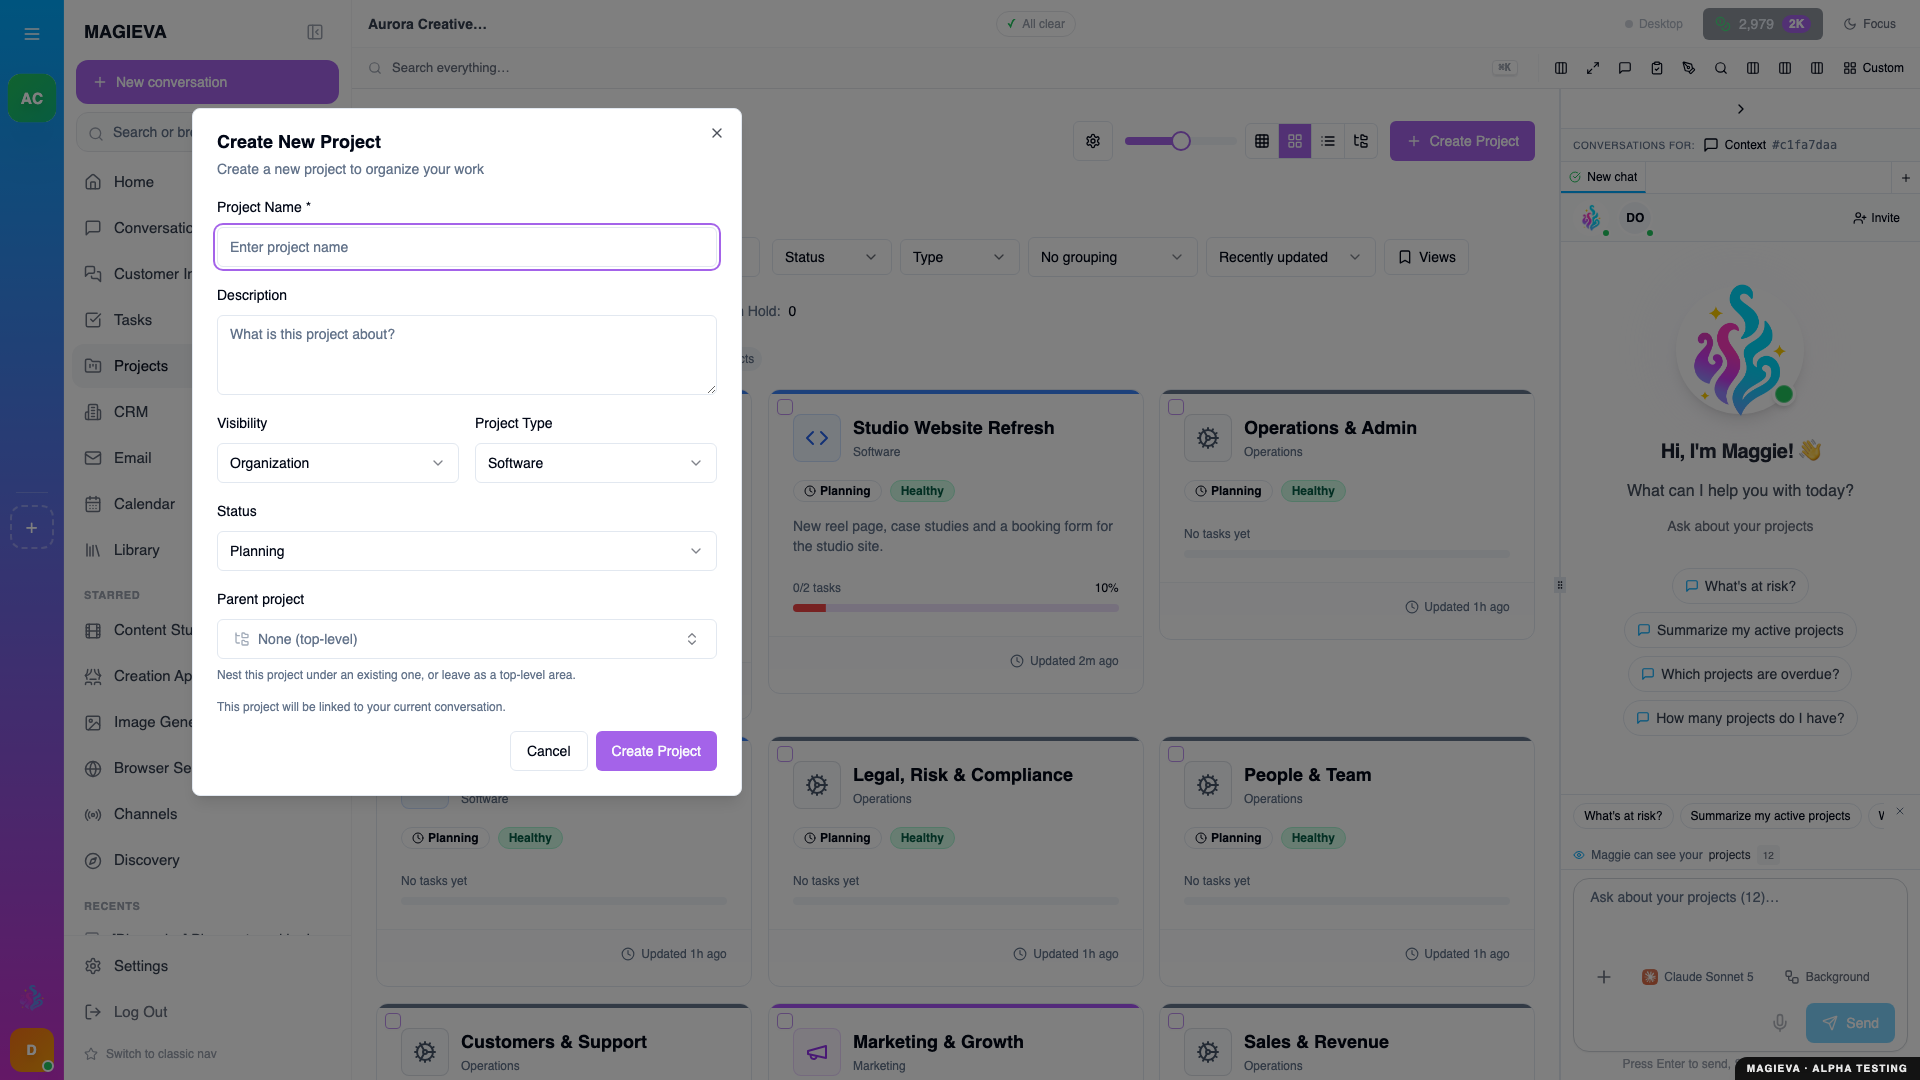
Captured 2026-09-14 on staging.magieva.com at /projects, 1920×1080, in the documentation organization.
A project is the unit you will share, report on, and archive, so the narrower it is, the more useful it stays.
Step 2 — Add work by asking for it
You can add tasks by hand, but the faster route is to ask:
In the Q3 website refresh project, add tasks for wireframes, copy, and a launch checklist.
Maggie creates them inside the project. Open it and you will see them listed.
This works for changes too:
Move the launch checklist to next Friday and assign it to me.
Step 3 — Follow a task through its phases
Open a task. A task is not a checkbox — it moves through phases, and you can see exactly where it is: a task waiting to start shows its status and description with an empty activity log; once Maggie is working it, the log fills in.
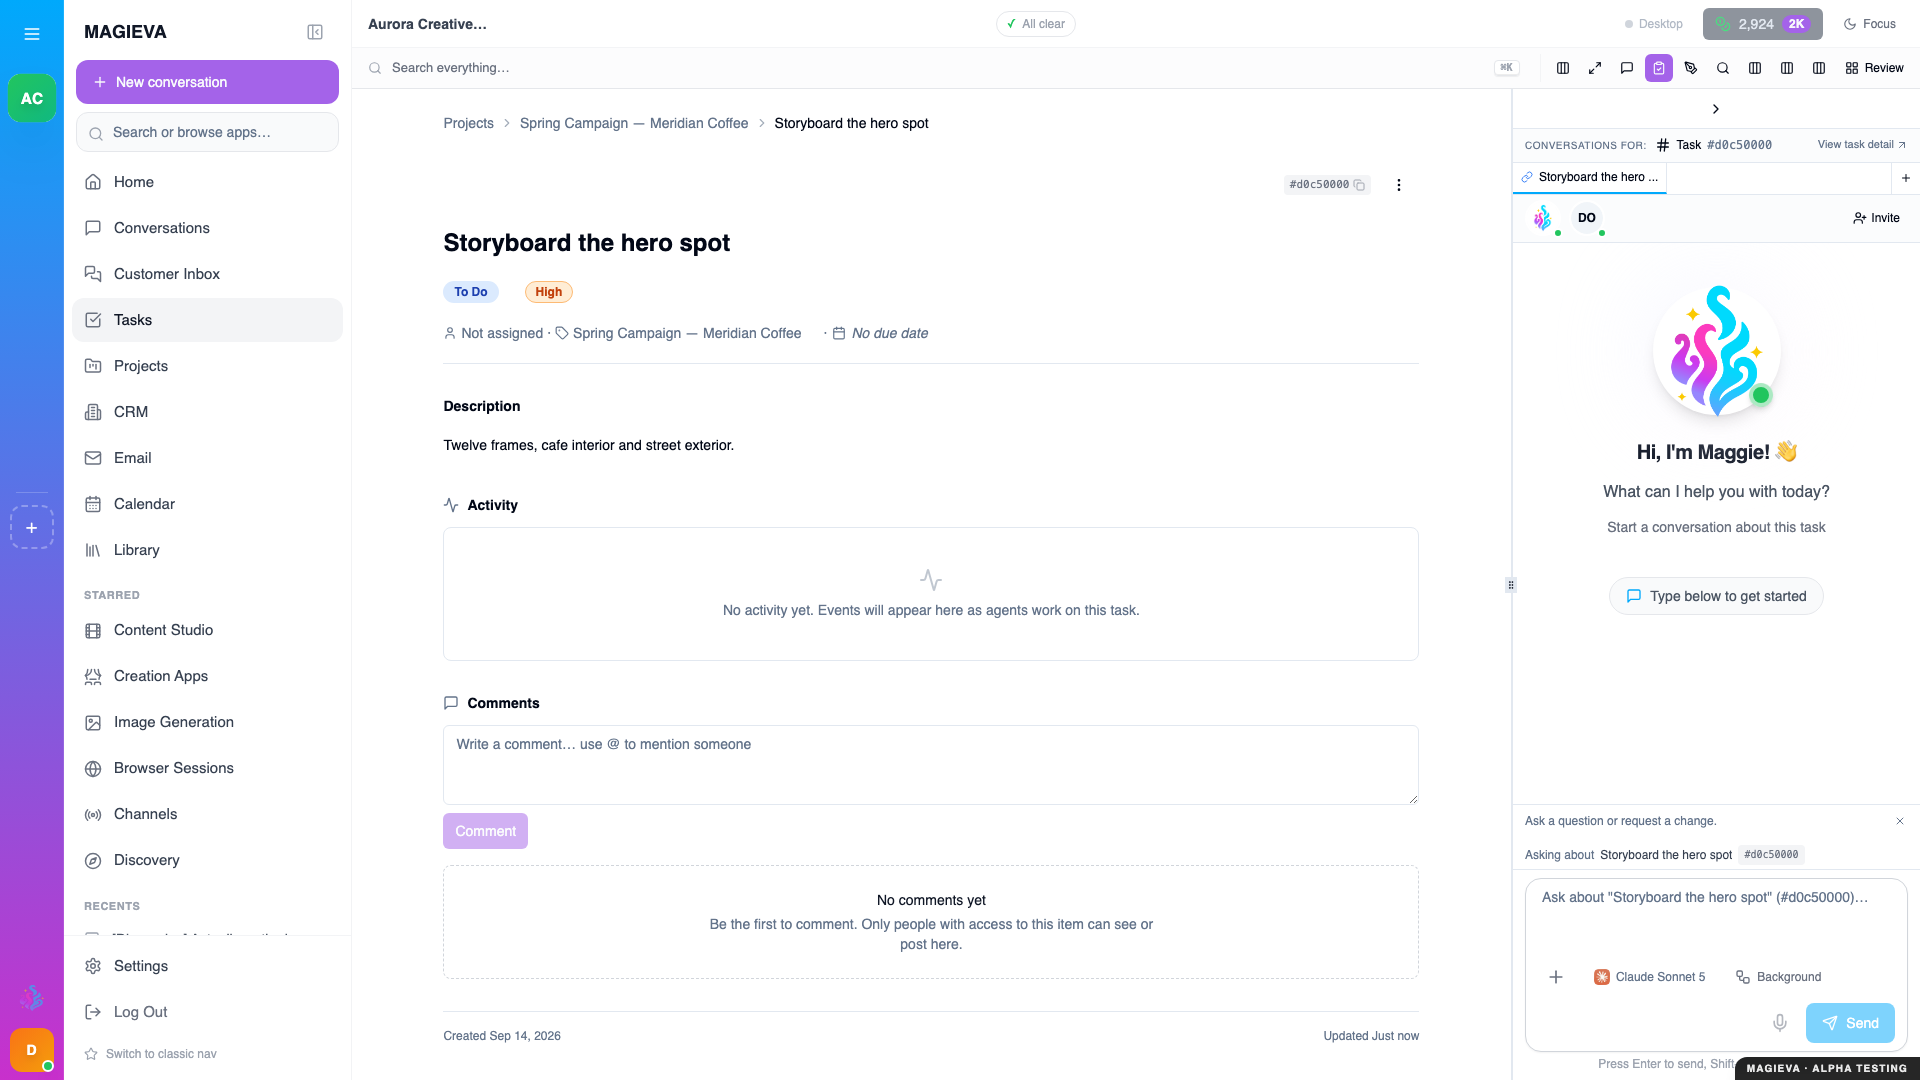
Captured 2026-09-14 on staging.magieva.com at /projects/d0c50000-0000-4000-8000-000000000101, 1920×1080, in the documentation organization.
On the task page you get:
- Status — where it is: To do, In progress, Done.
- Description — what was asked, and by whom.
- Activity — the running log. Empty on a task nobody has started; filling in live once Maggie is working it, with outputs as they are produced.
Progress updates arrive live. You do not need to refresh, and you do not need to stay on the page for the work to continue.
Step 4 — Handle a task that needs you
Some tasks pause and ask for something — a decision, a missing detail, an approval. When that happens you get a notification, and the task shows what it is waiting for.
Answer it in the task, and it resumes from where it stopped. Nothing is lost by leaving it waiting overnight.
Step 5 — Chain work with dependencies
Real work has an order. A task can depend on another, so it will not start until the one before it is done.
Set this up in the project view, or just say so:
The launch checklist shouldn't start until copy is finished.
This is what turns a list into a plan: you can set up a week of work and let it run in the right sequence rather than babysitting each handoff.
Step 6 — See everything in one place
Two views are worth knowing:
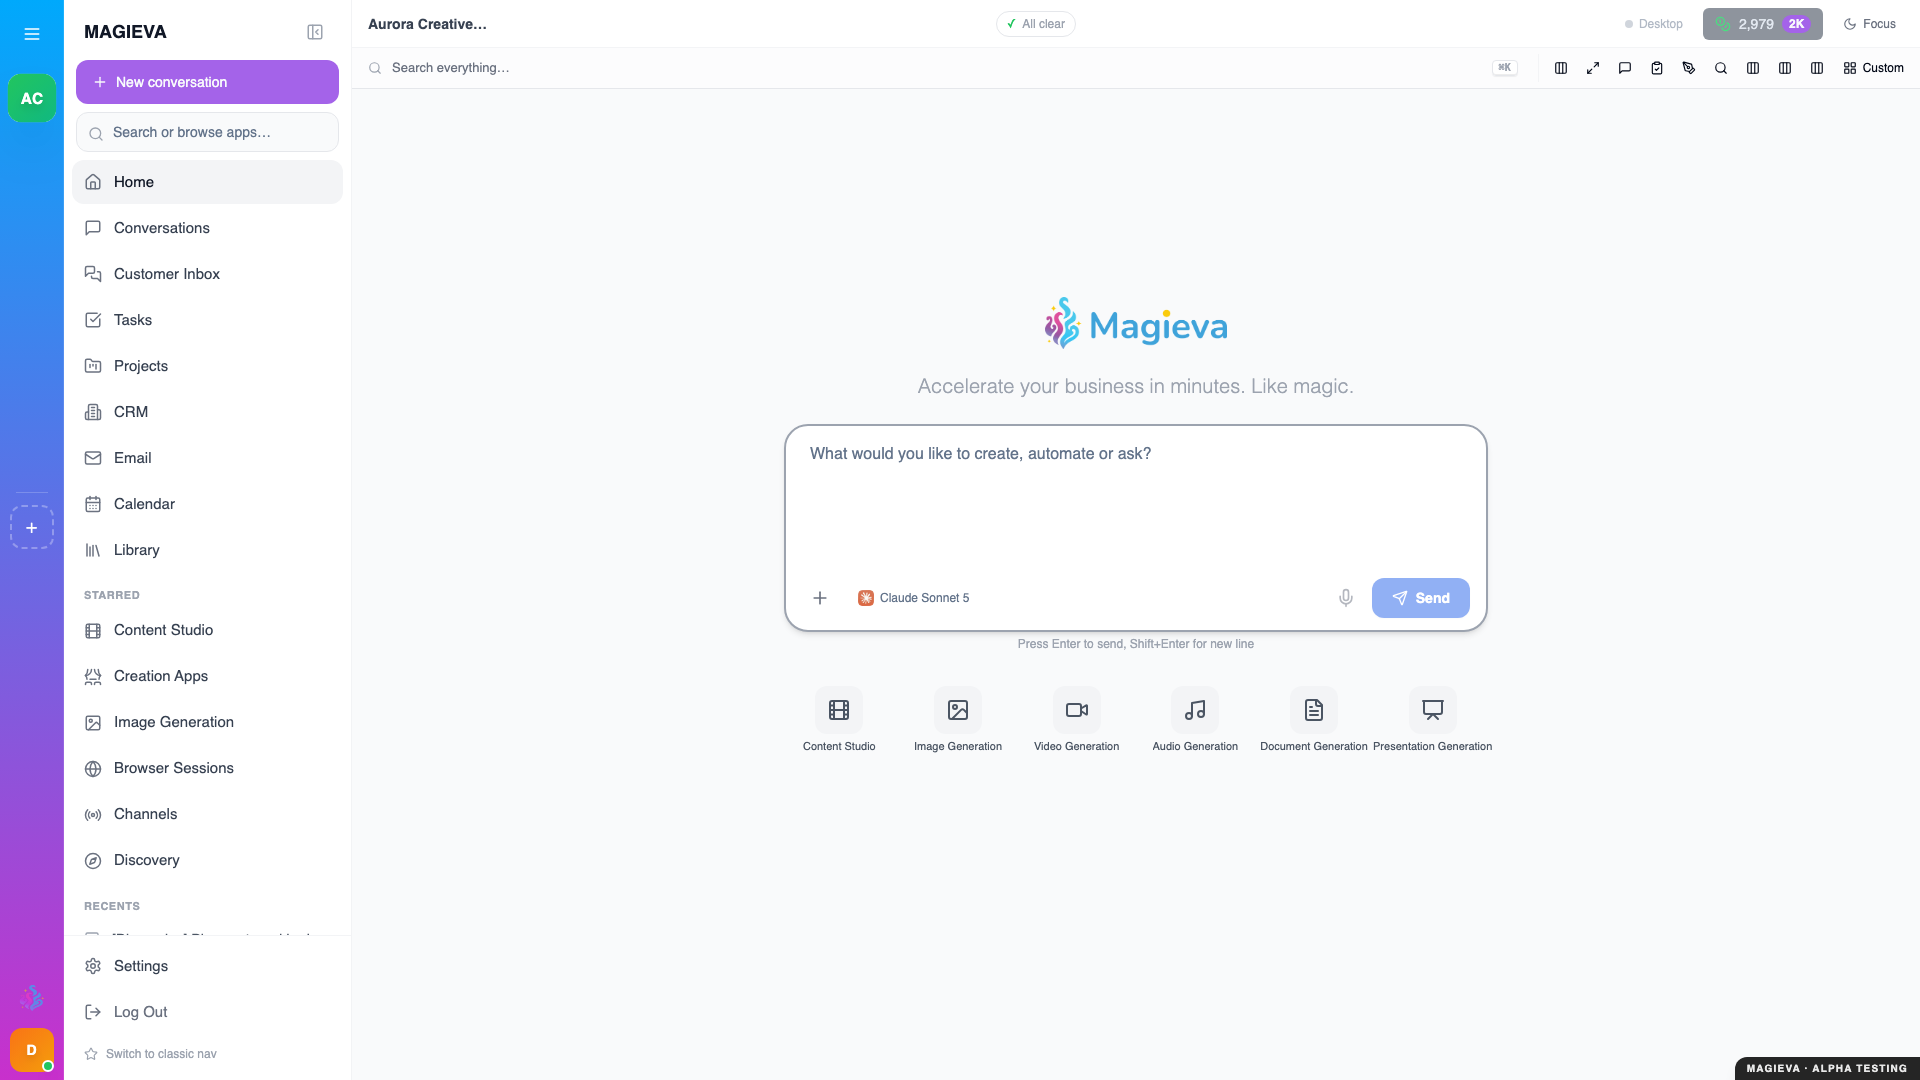
Captured 2026-09-14 on staging.magieva.com at /, 1920×1080, in the documentation organization.
- Tasks in the sidebar — everything assigned to or started by you, across every project.
- Home — where you start work: the composer, quick actions for the studios, and your recent conversations in the rail.
If you only check one thing each morning, check Tasks.
Step 7 — Bring other people in
Assign a task to a colleague and it appears in their list with the same history and context you can see. They do not need you to explain it.
For this to work they must be a member of the organization — see Your organization and its people.
Common mistakes
Making projects too broad. "Marketing" never finishes, so it never gets archived, and it slowly becomes a dumping ground.
Looking for a finished task's output in the conversation. It is on the task.
Assigning work to someone who is not in the organization yet. Invite them first.
Where to go next
- Connecting your tools — let tasks read from and write to the systems you already use.
- How Magieva works — what happens between asking and finishing.